Ghost 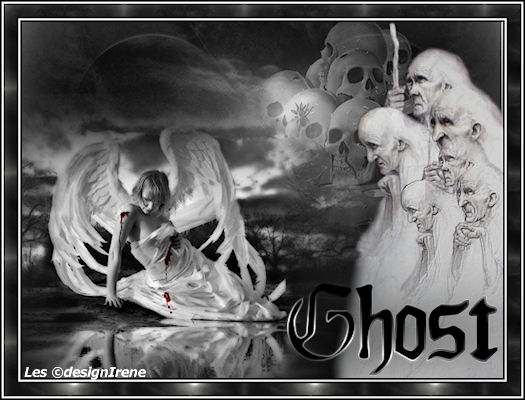 Plugin: Graphics Plus. 1 Open all materials in PSP. 2 Choose a dark background, light forefront color. 3 Gradient, style lineair, angle 0, repeats 0, invert no. 4 Activate the tube DI_gothic24, here we gone work on. 5 Layers, new rasterlayer, floodfill with gradient. 6 Layers, arrange move down. 7 Copy the DI_wolkenextra, paste as a new layer, move a little to above. 8 Blend mode, Luminance. 9 Effects, Plugin Graphics Plus Emboss, 4 x 14. 10 Adjust, Sharpness, High Pass Sharpness. Radius 10, Strength 50, Blend mode Hard Light. 11 Copy the tube DI_gothicdoodshoofd, paste as a new layer. Remove a little to right above. 12 Blend mode, Luminance, layer opacity 55. 13 Raster 1 Adjust, Sharpness, High Pass Sharpness. Radius 10, Strength 50, Blend mode Hard Light. 14 Copy the 3oldGhosts-sm~moon, paste as a new layer. 15 Remove a little to right, layer opacity 70. 16 Add border 2 pixels black. Add border 2 pixels white. Add border2 pixels black. 17 Selection, select all. 18 Add border 15 pixels, grey. 19 Selection, invert. 20 Layers, new rasterlayer. 21 Floodfill the selection with DI_patroonghost, angle 0, scale 25. 22 Belc mode, Luminance. Selection, select none. 23 Add border 2 pixels white. Add border2 pixels black. 24 Copy the tube DI_tekstghost2012, paste as a new layer. 25 Drop shadow, H_V 5, opcity 50, blur 5, color black. 26 Layers, merge visible. 27 Dont forget your watermark. 28 File, save as JPG. Tutorial ©desigIrene augustus 2012 |
Download zip Nederlandse versie |
|||||||
|
Start |
PSP Lessons |
Terms and Conditions © 2005 - 2021 Denhutsepot.be |
||||||||