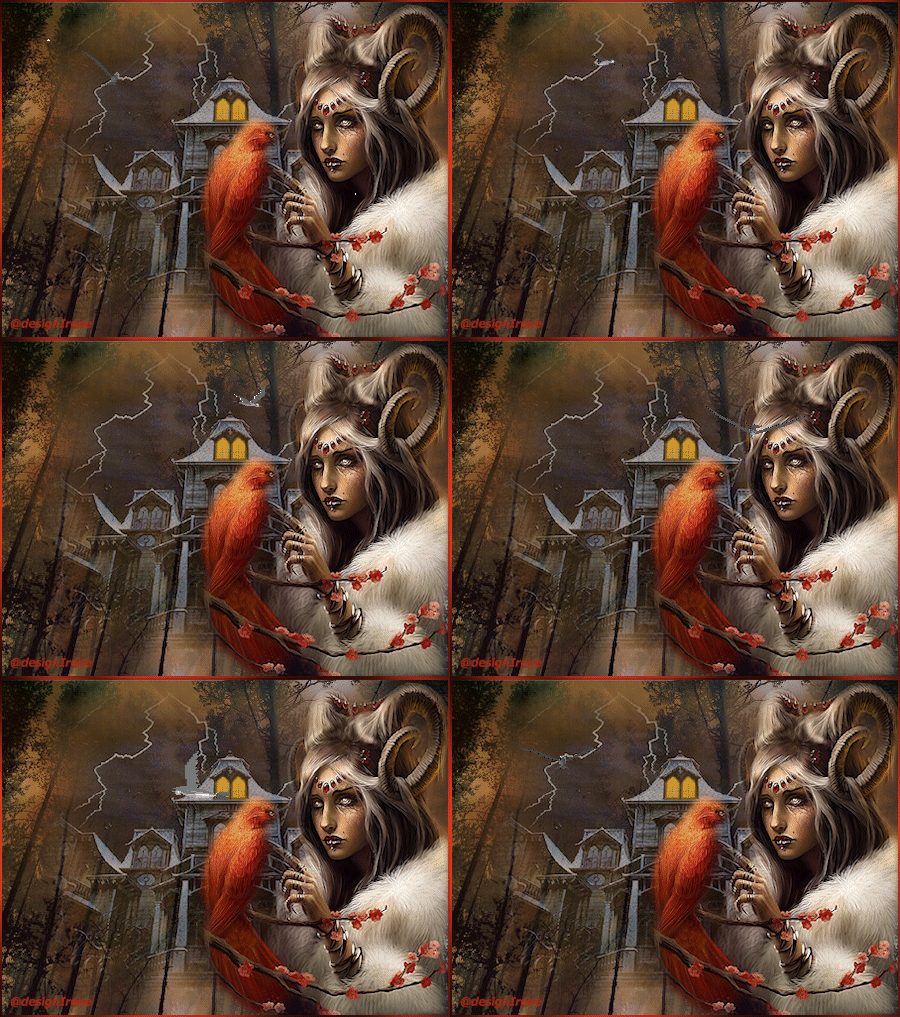
The Bird  Plugin Graphics Plus, Plugin Harry's Rave Grads. The zip, an image of choise. with thank to Sassy and Silke for the tubes. 1 Open the tubes and image in PSP. 2 Image, Convert to raster layer. 3 Choose a dark background, light forefront color. 4 New raster layer. Floodfill with the dark color. 5 Effects, Plugin Harry's Rave Grads, Mixed gradients 1.5. Layers arrange, move down. 6 Activate raster 2, layer opacity on 70. 7 Activate the sassyillusions_hauntedmansion. Copy and paste as a new layer. 8 Image resize to 85%, not all layers. Layer opacity on 65. 9 Activatede SKF_darkbeauty, image resize to 350 pixels longest side. 10 Copy and paste as a new layer. Image, mirror. Replace to the right. 11 Drop shadow, H_V 4, opacity 60, blur 5, color black. 12 Add border 2 pixels dark color. Select the border. 13 Effects, Graphics Plus, Cross Shadow. Six on 50- 2 on 128. Selection, select none. 14 Add watermark. Just save it for a while. 15 Open animationshop. 16 Copy the image, paste as a new animation in animationshop. Paste 6 time after active frame, you have now 7 frames. 17 Select all. 18 Copy and paste 4 time after active frame, now you have 28 layers. 19 Select all. 20 Open the Bird animation, select all. 21 Copy, paste in select frames, your image. 22 Save as GIF. For the Kat animation you need 14 layers-frames. |
Download zip Nederlandse versie |
|||||||
|
Start |
PSP Lessons |
Terms and Conditions © 2005 - 2021 Denhutsepot.be |
||||||||